10 Essential Aerial Hoop Positions Every Beginner Should Know
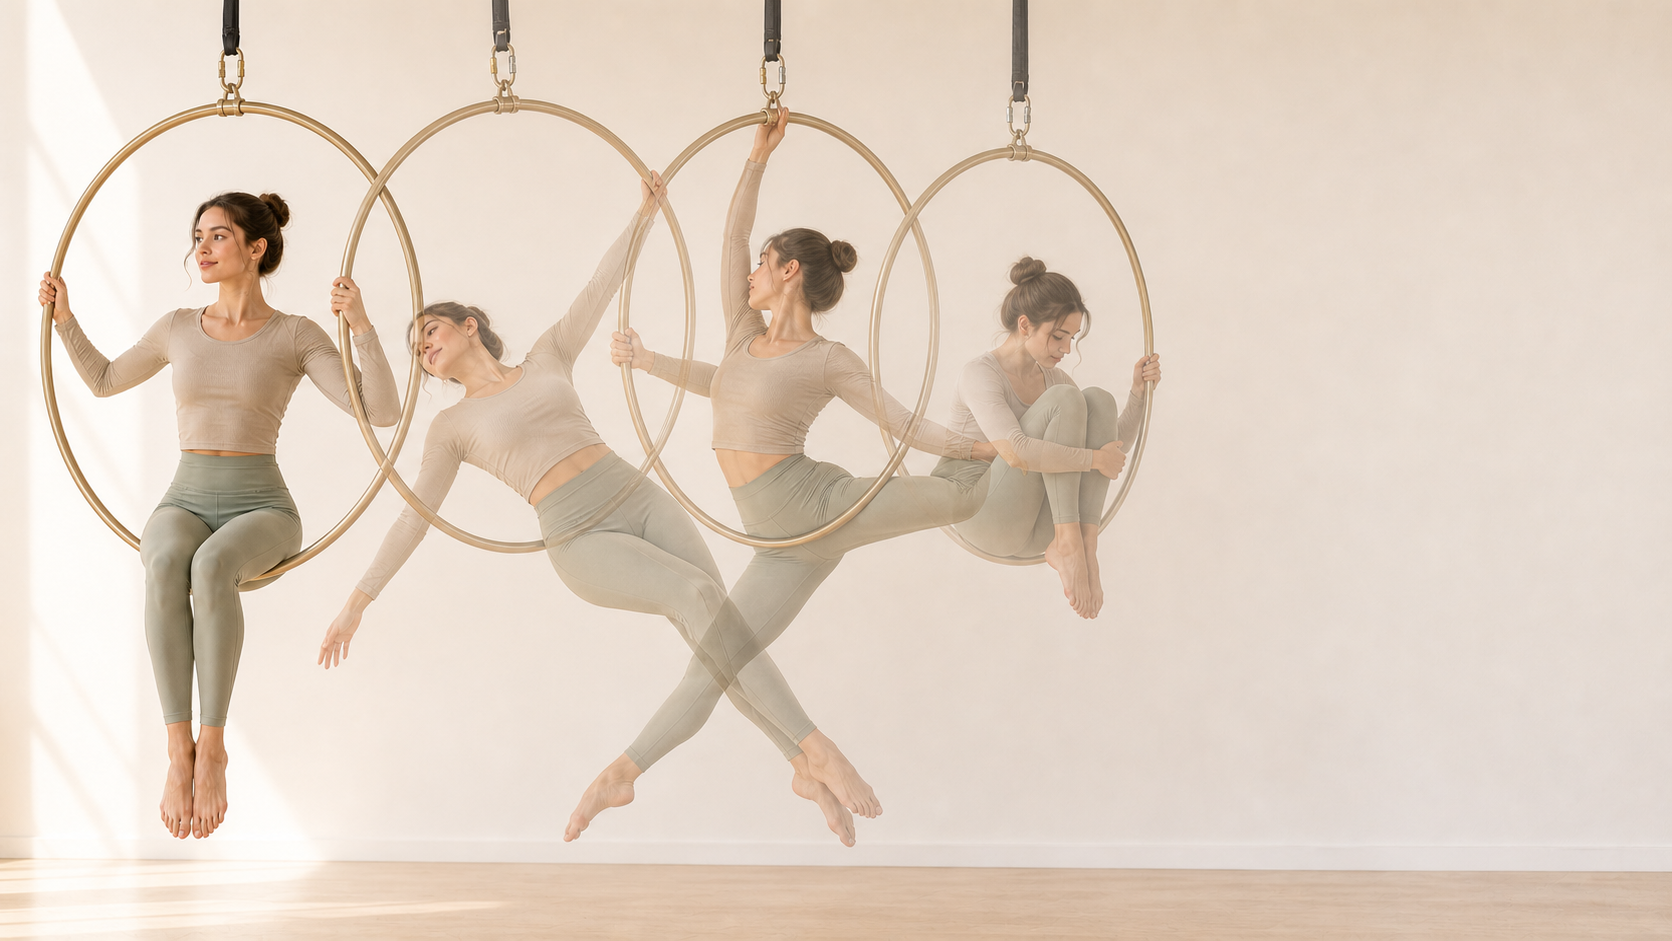
Walk into any aerial hoop studio in the world and you'll see the same ten silhouettes. The vocabulary of beginner lyra is remarkably consistent — these are the shapes that build the strength, coordination, and confidence everything else gets built on top of.
This list isn't about flashy tricks. It's about the foundational positions that, once they live in your body, let you move on to spins, drops, and choreography without compensating with strength you don't yet have. Master these ten, and your first year of aerial hoop will go better than 90% of beginners' first years.
For each position you'll get a quick description, the entry, the common mistakes I see in students, and what the pose unlocks for your future training. None of this is a substitute for an in-person instructor — but it's a useful reference between classes.
A note before you start
Every position below should be learned with an instructor first. The descriptions here are mental models, not tutorials. Read them before class, recognize the shape when your instructor demonstrates it, and use the post-class summaries to reinforce what you learned. If a pose hurts in a way that isn't muscle fatigue — sharp, pinching, or radiating — come out of it.
Train on a hoop set at hip or chest height (a "low hoop") whenever possible during your first months. Low-hoop work lets you fail safely and build technique before adding the cognitive load of being three meters off the ground.
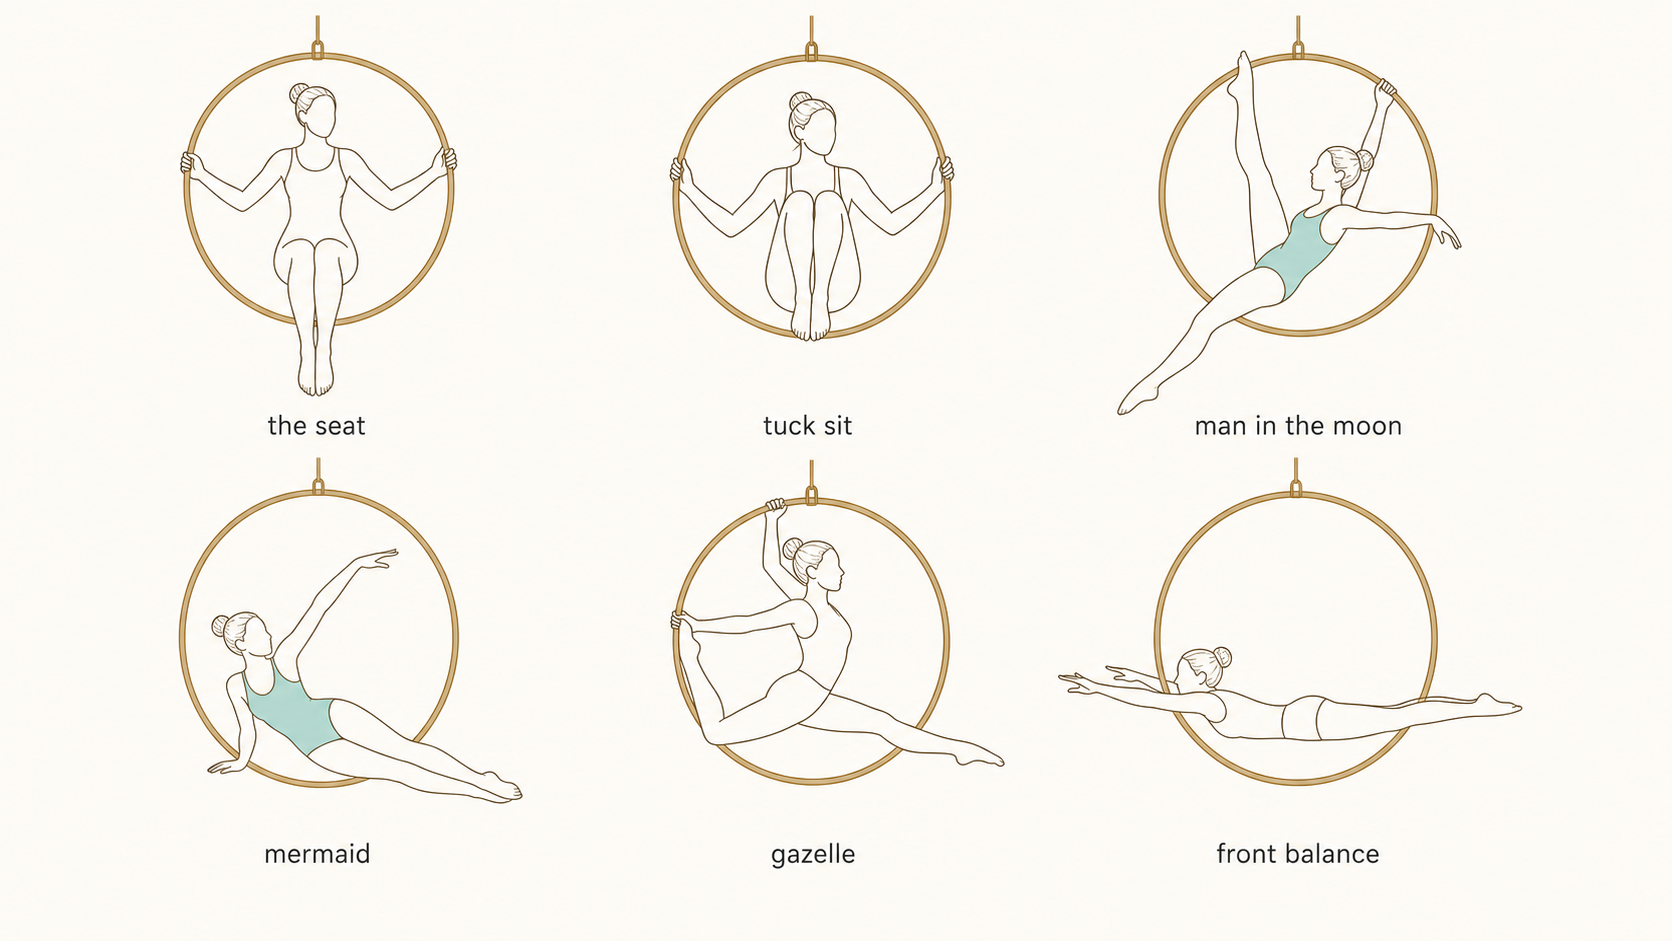
1. The Seat
The shape. Sitting upright on top of the hoop bar, hands gripping the sides at shoulder height. Knees pointing forward, ankles relaxed.
The entry. From standing, place both hands on the bar above your head. Engage your shoulders down (away from your ears). Pull yourself up just enough to hook one knee, then the other, around the bar from inside, before settling onto the seat.
Common mistakes. Letting the shoulders ride up to the ears. Gripping the hoop with white knuckles instead of letting the seat actually take your weight. Rolling the lower back into a slump.
What it unlocks. This is your home base. Every flow starts and ends here. A clean, calm seat — shoulders down, spine long, ribs stacked over hips — is the difference between an aerialist who looks confident and one who looks tense. Spend more time on the seat than you think necessary.
2. The Tuck Sit
The shape. From the seat, both feet hook onto the bar in front of you. Knees pull into your chest. The hoop now supports you across the hips and behind the knees.
The entry. From a clean seat, lift both feet up and forward, hooking them on the bar in front. Engage the core to lift the chest slightly. Hands can stay on the sides or release into a "look ma, no hands" version once you're stable.
Common mistakes. Collapsing the chest. Letting the hips slide forward off the bar. Holding the breath.
What it unlocks. The Tuck Sit is the gateway to releasing your hands during a pose, which is the gateway to nearly every photogenic shape in the discipline. It also builds the core engagement pattern you'll use in every invert later.
3. The Man in the Moon
The shape. Lying along the bottom curve of the hoop, one leg hooked over the top of the bar, the other extended toward the floor. The body silhouette resembles a crescent moon with a head. One of the first poses that gets photographed.
The entry. From a seat, lean to one side and slide the same-side leg up to hook over the top of the hoop. The opposite leg extends down. The hand on the hooked-leg side reaches up to grip the top of the hoop; the other hand can rest along the bar or extend.
Common mistakes. Letting the hooked leg slide down the bar instead of pinning it firmly. Allowing the chest to collapse forward. Dangling the bottom leg passively instead of pointing the toe and engaging the inner thigh.
What it unlocks. This is the first pose where most students realize aerial hoop can be beautiful. It also teaches asymmetric weight distribution, which becomes essential for nearly all intermediate work.
4. The Mermaid
The shape. Side-lying drape across the bar. Legs together, pointed. The upper body lifts up on a propped arm, the other arm extends overhead in a long curve.
The entry. From a seat, walk both hands along the bar to one side and lower the body sideways onto the bar. The bar should sit across the hip crease, not the floating ribs. Stack the legs and point the toes.
Common mistakes. Letting the bar press into the ribs (painful and bad for the ribs). Letting the top leg fall forward of the bottom one. Bending the propping arm into a collapse instead of stacking it strong.
What it unlocks. Shoulder stability under a side-loaded body. The Mermaid is the first pose that asks your shoulder to support your bodyweight at an angle — a pattern you'll repeat in dozens of intermediate shapes.
5. The Gazelle
The shape. A graceful split-leg pose. The hoop bar sits behind one knee and across the front of the opposite hip. The body angles diagonally through the hoop, one leg long behind, one leg long in front.
The entry. From a seat, swing one leg forward over the top bar and the other leg back behind it, hooking the knee. The body rotates to face one side as the hips open.
Common mistakes. Forcing the split before the hips are warm. Letting the hooked knee slip down the bar. Holding the breath during the rotation.
What it unlocks. Hip mobility and leg articulation. The Gazelle is also where students first learn that "graceful" is a function of slow, controlled movement — not of trying to look graceful.
6. Front Balance
The shape. Lying flat on your front across the hoop bar, the bar at the hip crease. Arms extend forward, legs extend back. The body forms a long, straight line — a "Superman" pose suspended in air.
The entry. From standing under the hoop, hop or press up onto the bar so the hips land on it, then extend the arms and legs simultaneously to balance. The bar must sit at the hip crease — too high (waist) and you'll fold; too low (thighs) and you'll tip.
Common mistakes. Letting the chest drop. Letting the legs sag. Gripping the bar with the hands instead of extending the arms forward.
What it unlocks. The Front Balance teaches you to use the hoop as a fulcrum. Almost every drape, dive, and decorative shape in intermediate aerial uses this fulcrum principle.
7. Back Balance
The shape. The mirror of the Front Balance. Lying on your back across the bar, arms reaching back over your head, legs extended forward and slightly up.
The entry. From a seat, lean back, lower the upper body behind the bar, and let the hips roll back over the bar so the body settles into a lying-back balance. The bar should sit at the lower back, not under the shoulder blades.
Common mistakes. Tipping the head too far back (compresses the cervical spine — keep the chin slightly tucked). Letting the legs drift downward. Holding the breath.
What it unlocks. Spine articulation and trust. Most beginners are uncomfortable lying back over the bar the first few times. Once you trust the apparatus to hold you, your aerial work changes.
8. The Hip Hold (Hip Hang Prep)
The shape. Sitting on the bar with one hand gripping the bar above and the body tilted to one side, the same-side hip pressing into the bar. Looks like a relaxed lean — actually a strong lateral engagement.
The entry. From a seat, shift the weight onto one hip, hook the same-side hand on the top of the hoop, and let the body tilt away from that grip while the hip pins into the bar.
Common mistakes. Letting the hip slide forward off the bar. Hanging from the arm instead of pressing the hip in.
What it unlocks. The Hip Hang. This is the pre-requisite for the Hip Key, one of the most important entries in all of aerial hoop. Get the hip pin solid here and the Hip Key arrives faster than you'd expect.
9. The Knee Hang
The shape. Hanging upside down from the hoop with both legs hooked at the knees, the bar sitting in the back of the knees, hands free.
The entry. From a seat, lift both legs up and over the bar, hooking the knees. Lower the upper body back and down. Engage the core to keep the descent controlled, not a flop.
Common mistakes. Releasing too quickly and dropping into the hang. Letting the legs straighten and slide. Forgetting to keep the core engaged so the back doesn't arch sharply.
What it unlocks. Inversion. Once your knee hang is calm and controlled, your relationship with being upside down changes. Every drop, every released hands shape, every drape that involves the back of the knees runs through this position.
10. The Star
The shape. Sitting on the bar with both legs extended straight to the sides into a wide V, hands gripping the sides of the hoop. The body shape forms a star inside the circle — a classic, iconic photo pose.
The entry. From a clean Tuck Sit, slowly extend both legs out to the sides while gripping the sides of the hoop. Engage the inner thighs to hold the V open.
Common mistakes. Forcing a wider V than the hips are ready for. Rolling the pelvis back. Letting the chest collapse.
What it unlocks. Active hip abduction and the Straddle family. The Star is the entry point to dozens of straddle-based intermediate poses — and one of the most recognizable shapes in aerial photography.
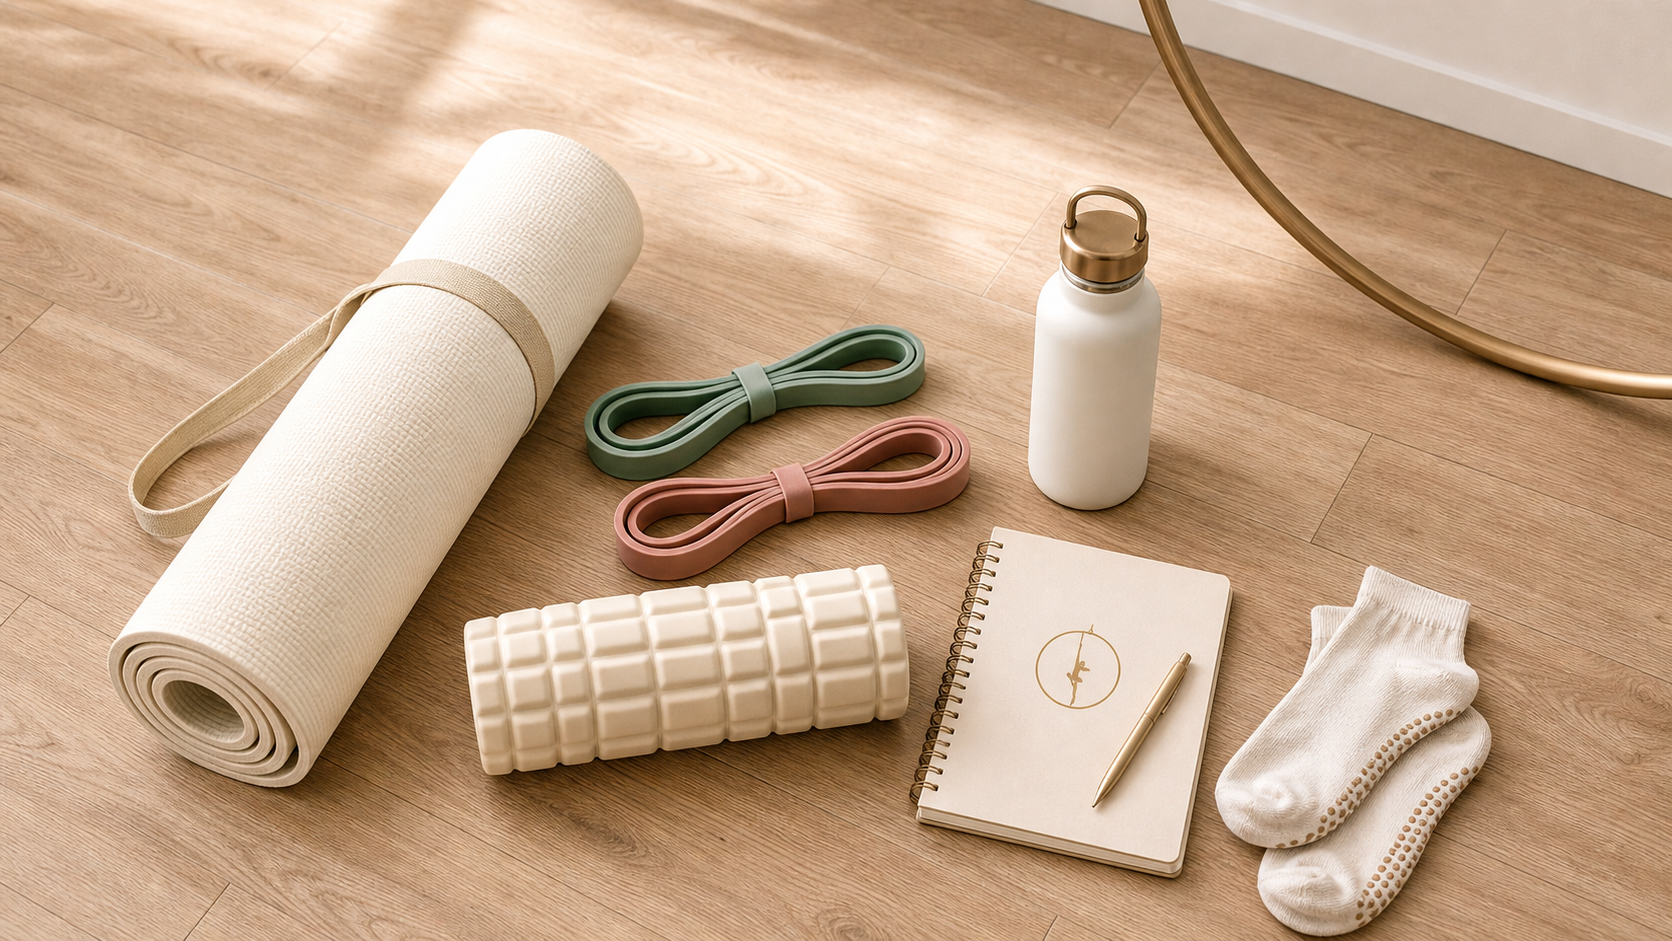
How to actually practice these
Don't try to learn all ten in a single class. A reasonable cadence: one to two new positions per class, plus revisiting two from previous classes. After three months of consistent practice, all ten of these should feel familiar.
Between classes, spend five minutes a day visualizing each pose. Sounds odd. Works. Mental rehearsal is one of the cheapest performance gains in any movement discipline.
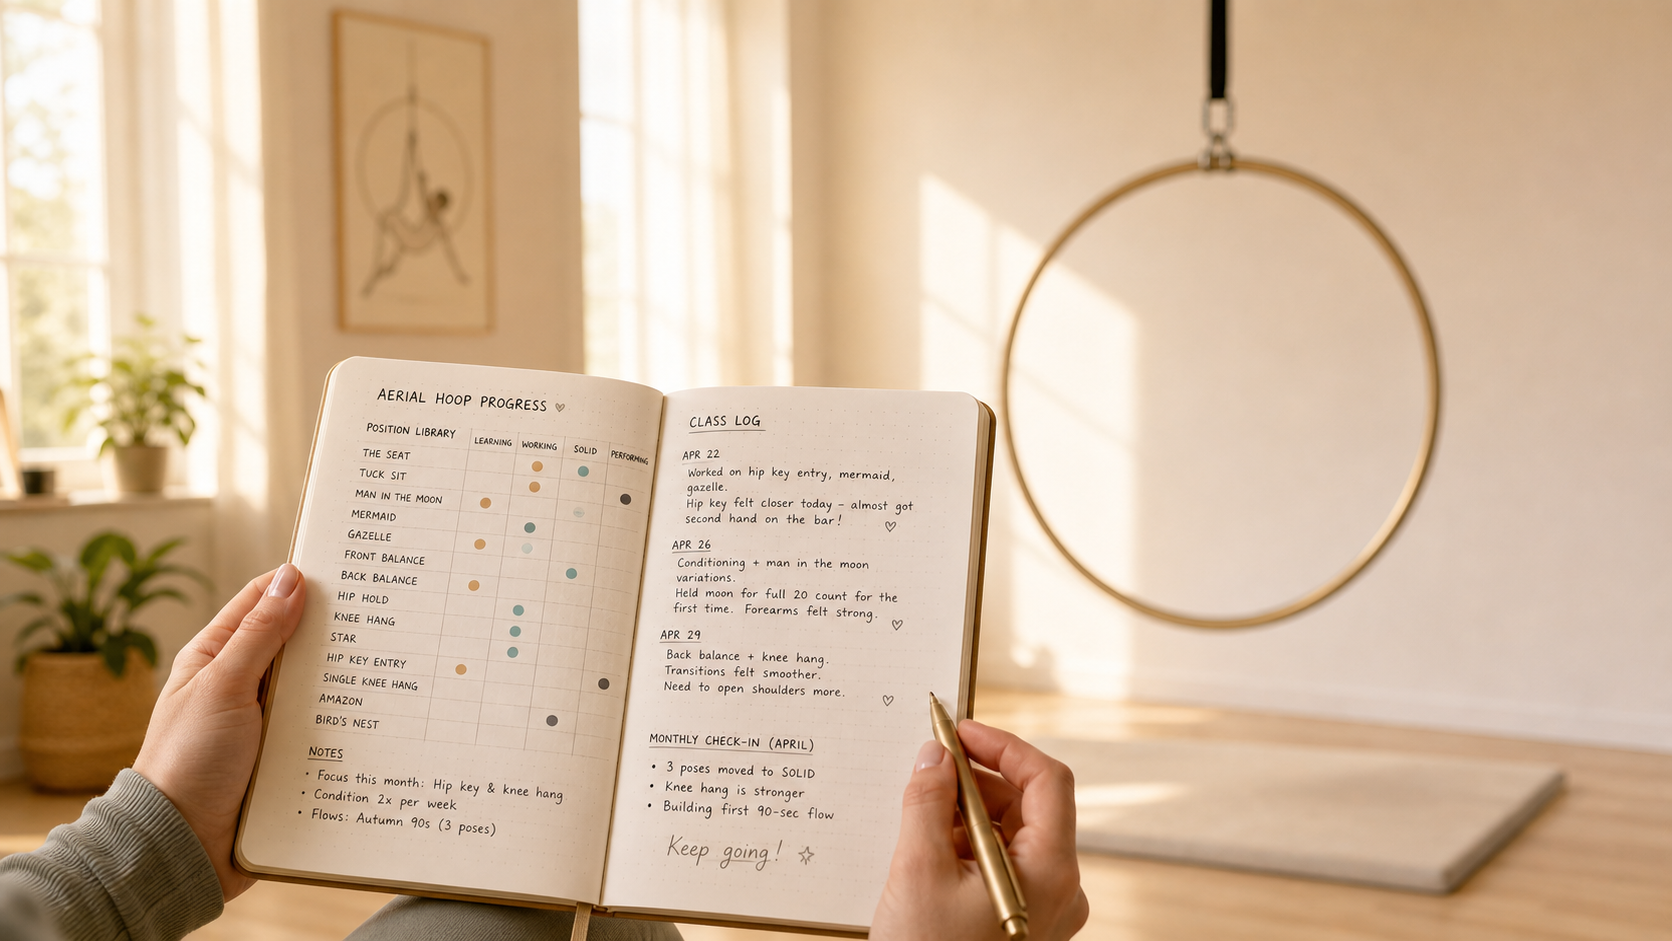
Track which positions you've worked, which ones feel solid, and which ones still need attention. The Aerial Hoop Flow app is built exactly for this — you can mark each of these ten positions by your current level (learning, working on it, solid), filter by difficulty, and watch your library grow over the months. When it's time to start linking poses into flows, you'll have a clear picture of your stable vocabulary.
What comes after these ten
Once these positions feel reliable, the natural next steps are:
- Hip Key (the entry that unlocks most intermediate work)
- Single-knee hang (the asymmetric version of the Knee Hang)
- Amazon (a one-arm seated pose with the legs in a graceful split)
- Bird's Nest (the classic shape that looks like a roosting bird)
- Side Balance / "Side Sit"
But all of those build on the ten above. Don't rush past the foundations. Aerial hoop is one of those disciplines where the people who look best are the ones who trained their basics for longer than they thought necessary.
Welcome to your first ten shapes. May they serve you well.